TABLE OF CONTENTS
Add Role
The admin can create user roles.
Step 1: Go to the admin dashboard (Home).
Step 2: Click on Users. You will dropdown select Add Role (as shown in screen 2.1.1)
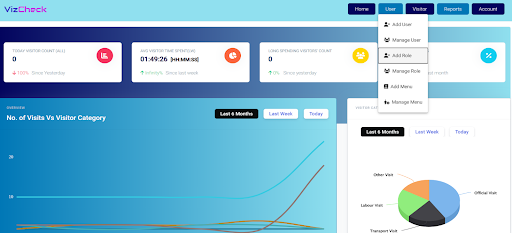
Step 3: Click on Add Role. You will see a screen (as screen 2.1.2).

Step 4: Fill in details:
*Note: Mandatory fields are in red colour.
- Role Name: Fill the name of user’s role. This is mandatory field. (Admin, Security head, Security Officer, Receptionist)
- Role Description: Describe the role name that you have given.
Step 5: Click on submit to Add the user role.
Add Menu
After Admin has created role, he can create or assign specific features to the specific roles.
Step 1: Click on Users. You will dropdown select Add Menu (as shown in screen 2.2.1)
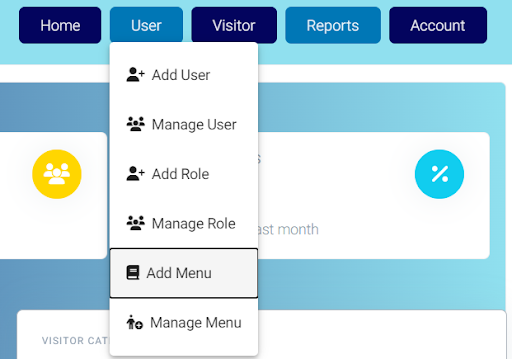
Step 2: Click on Add Menu. You will see a screen (as screen 2.2.2).
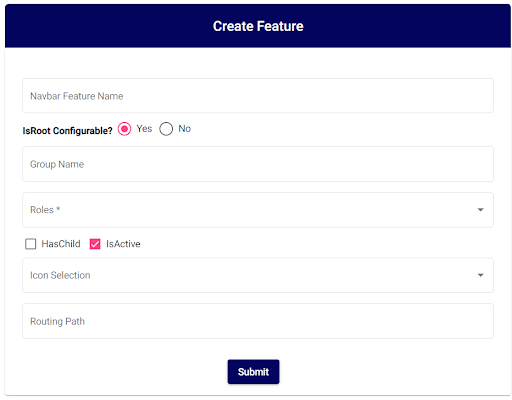
Step 3: Fill in the details.
*Note: Mandatory fields are in red colour.
***Note: Please refer the embedded document link for in detail explanation on how to create features.
- Navbar Feature Name:
- IsRoot Configurable? Select between Yes or No Option.
- Group Name: Name of the Group, and alphanumeric, and special character allowed.
Add User
After adding roles and assign features, admin is required to add users who will carry out the Specific roles.
Step 1: Click on Users. You will dropdown select Add Menu (as shown in screen 2.2.1)
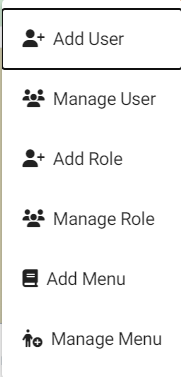
Step 1: Click on Users. You will dropdown select Add Users (as shown in screen 2.3.1).
Step 2: Click on Add User. You will see a screen (as screen 2.3.2).
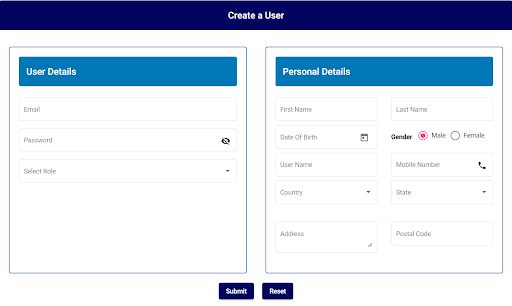
Step 3: Fill the details (as shown in 2.3.2)
User Details:
*Note: Mandatory fields are in red colour.
*Note: Email & Password are for Authentication Purposes.
- Email– Email Id of the user needs to be entered here.
- Password– The Password is generated on default.
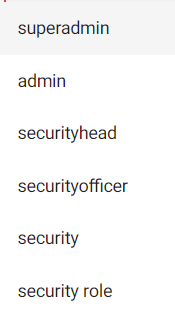
- Select Role– Select role of user in select role dropdown. (As shown 2.3.3)
Personal Details:
- First Name- First Name of the User, and alphanumeric, and special character allowed.
- Last Name- Last Name of the User and alphanumeric, and special character allowed.
- Date Of Birth- Select the User date of birth in calendar.
- Gender- Select between the Options Male, Female.
- Mobile Number- Mobile number of User, only numbers and maximum value 10 allowed. You don’t need to write country code i.e., +91 in case of India.
- Country- Select country of User from country dropdown.
- Address- Address of the User and alphanumeric, and special character allowed.
- Postal Code- Postal code of User only numbers allowed, and Limit is 6.
Step 4: Click on Submit to create User login credentials and record user personal details.
Manage Roles
The admin can manage roles created by him/another admin that he can track in manage role page.
Step 1: Click on Users. You will dropdown select Manage role (as shown in screen 2.4.1).
Step 2: Click on Manage role. You will see a screen (as screen 2.4.2).
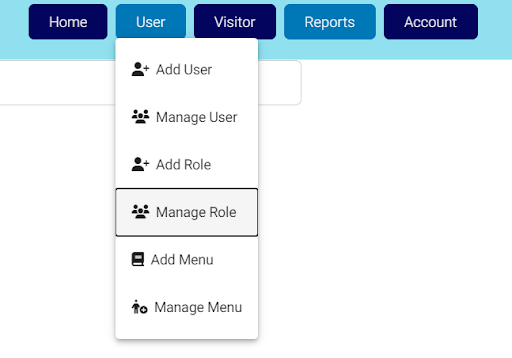

Step 3: The admin can look at page to manage the roles that he created as follows.
1.Grid Features: Export, Filter, Sort are made available to Admin.
2.Fields: Role ID, Role Name, Role Description, Created ON, Modified ON, Created BY, Action
3.Action: Delete or Edit Field data.
Edit: Role Name & Description can be edited.
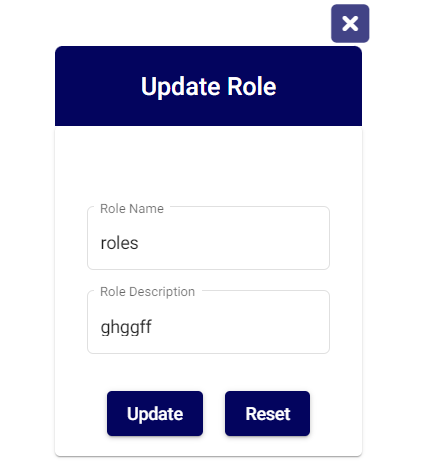
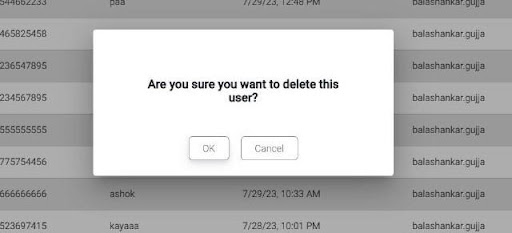
Delete: The Role can be permanently deleted.
Manage Menu
The admin can manage menu features given by him/another admin that he can track in manage menu page.
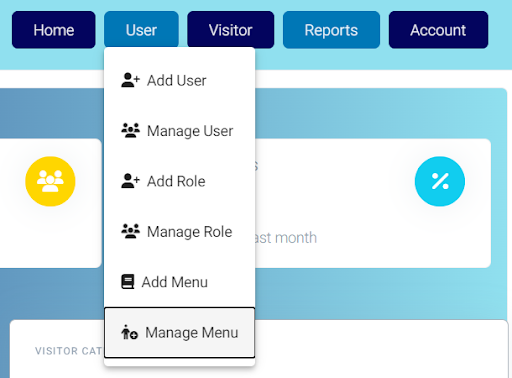
Step 1: Click on Users. You will dropdown select Manage Menu (as shown in screen 2.5.1).
Step 2: Click on Manage Menu. You will see a screen (as screen 2.5.2).

Step 3: The admin can look at page to manage the features that he assigned as follows.
1.Grid Features: Export, Filter, Sort are made available to Admin.
2.Fields: ID, Feature Name, Group Name, Role, Has Child, Root ID, IsActive, Created BY, Action.
3.Action: Delete or Edit Field data.
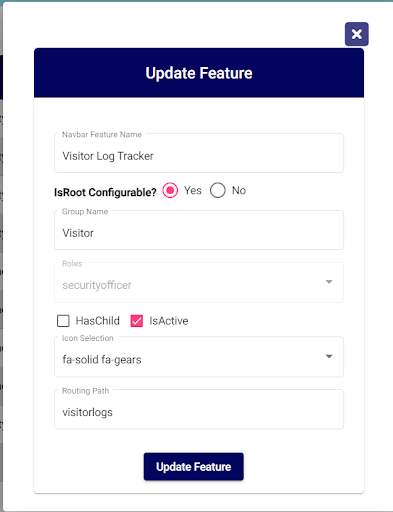
Edit: All the fields can be edited.
**Note: Refer the embedded Document link for create/manage features.
Delete: The Feature can be permanently deleted.
Manage User
The admin can manage menu features given by him/another admin that he can track in manage menu page.
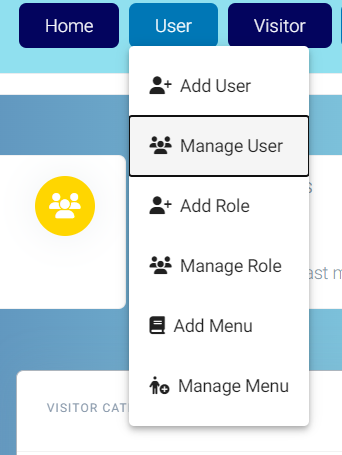
Step 1: Click on Users. You will dropdown select Manage User (as shown in screen 2.6.1).
Step 2: Click on Manage User. You will see a screen (as screen 2.6.2).

Step 3: The admin can look at page to manage the features that he assigned as follows.
1.Grid Features: Export, Filter, Sort are made available to Admin.
2.Fields: User ID, Role, Contact, Created Date, Created BY, Action.
3.Action: Delete or Edit Field data.
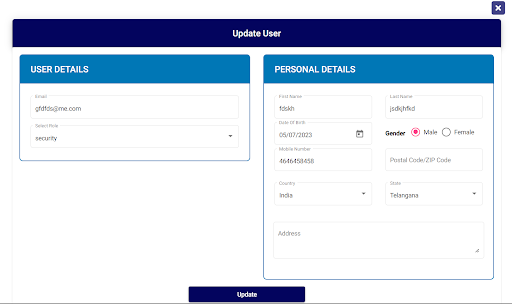
Edit: All the Fields can be edited.
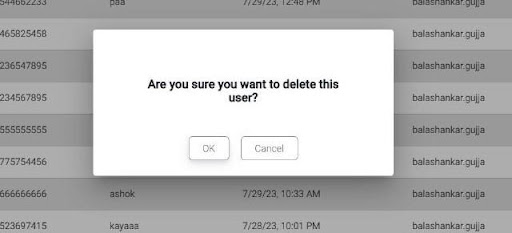
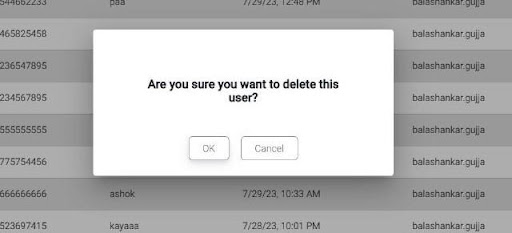
Delete: The User can be permanently deleted.
***Note: Admin can also make use Visitor settings, but he may or may not use them.
