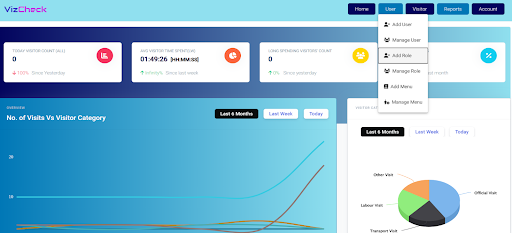
Step 1: Go to the admin dashboard (Home).
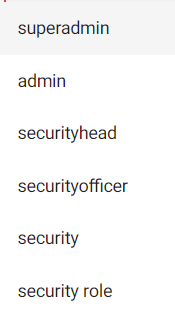
Step 2: Click on Users. You will dropdown select Add Role (as shown in screen 2.1.1)
Step 3: Click on Add Role. You will see a screen (as screen 2.1.2).
Step 4: Fill in details:
*Note: Mandatory fields are in red colour.
Step 5: Click on submit to Add the user role.
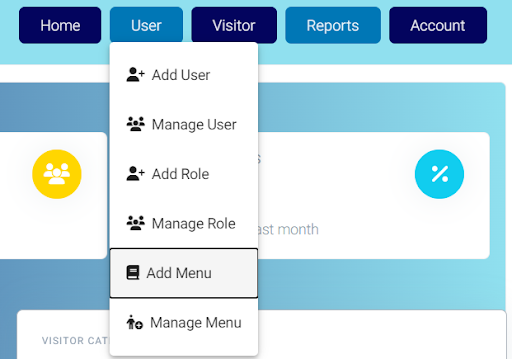
Step 1: Click on Users. You will dropdown select Add Menu (as shown in screen 2.2.1)
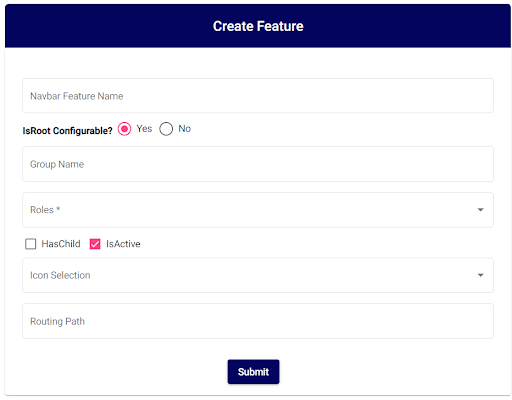
Step 2: Click on Add Menu. You will see a screen (as screen 2.2.2).
Step 3: Fill in the details.
***Note: Please refer the embedded document link for in detail explanation on how to create features.
Step 1: Click on Users. You will dropdown select Add Users (as shown in screen 2.3.1).
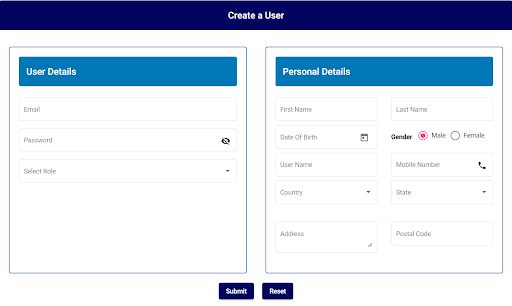
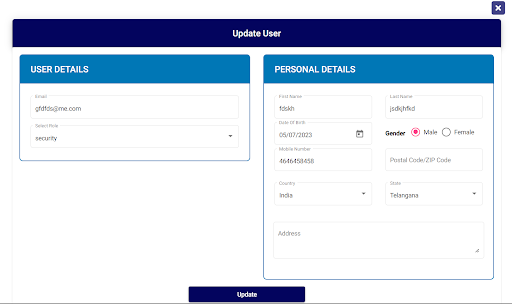
Step 2: Click on Add User. You will see a screen (as screen 2.3.2).
Step 3: Fill the details (as shown in 2.3.2)
User Details:
*Note: Email & Password are for Authentication Purposes.
Personal Details:
Step 4: Click on Submit to create User login credentials and record user personal details.
Step 1: Click on Users. You will dropdown select Manage role (as shown in screen 2.4.1).
Step 2: Click on Manage role. You will see a screen (as screen 2.4.2).
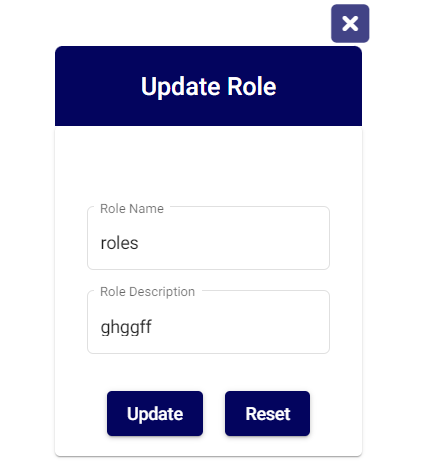
Step 3: The admin can look at page to manage the roles that he created as follows.
1.Grid Features: Export, Filter, Sort are made available to Admin.
2.Fields: Role ID, Role Name, Role Description, Created ON, Modified ON, Created BY, Action
3.Action: Delete or Edit Field data.
Edit: Role Name & Description can be edited.
Delete: The Role can be permanently deleted.
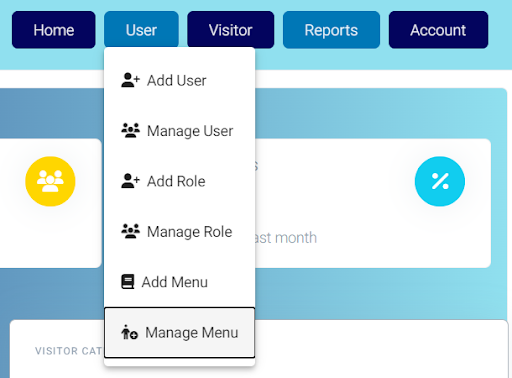
Step 1: Click on Users. You will dropdown select Manage Menu (as shown in screen 2.5.1).
Step 2: Click on Manage Menu. You will see a screen (as screen 2.5.2).
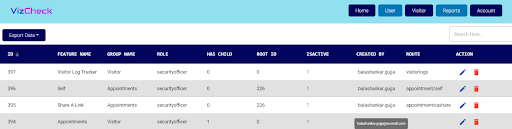
Step 3: The admin can look at page to manage the features that he assigned as follows.
2.Fields: ID, Feature Name, Group Name, Role, Has Child, Root ID, IsActive, Created BY, Action.
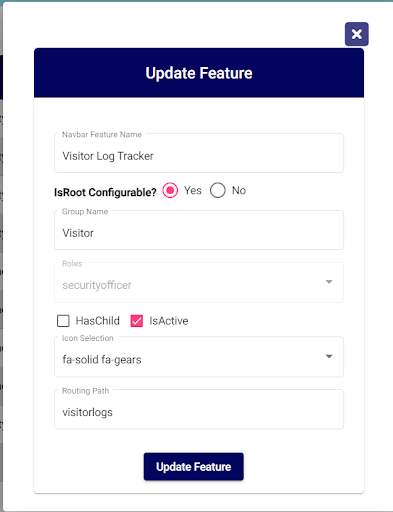
Edit: All the fields can be edited.
**Note: Refer the embedded Document link for create/manage features.
Delete: The Feature can be permanently deleted.
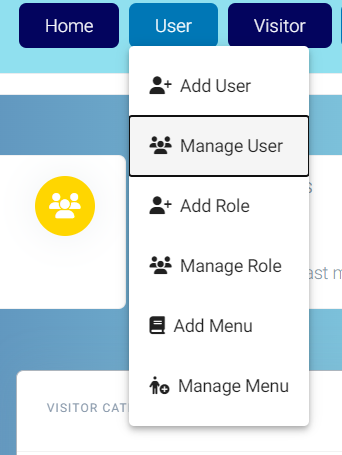
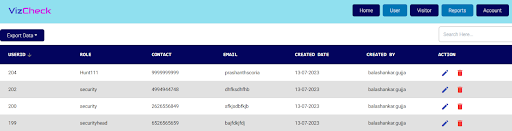
Step 1: Click on Users. You will dropdown select Manage User (as shown in screen 2.6.1).
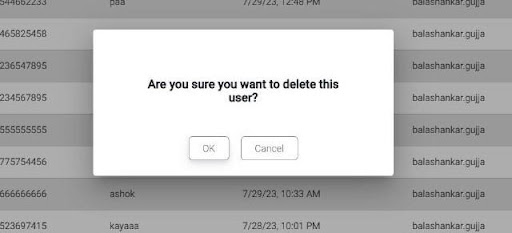
Step 2: Click on Manage User. You will see a screen (as screen 2.6.2).
2.Fields: User ID, Role, Contact, Created Date, Created BY, Action.
Edit: All the Fields can be edited.
Delete: The User can be permanently deleted.
***Note: Admin can also make use Visitor settings, but he may or may not use them.